
How to install plugins in WordPress Website for Beginners?
Are you a beginner looking to install a plugin to add features and functionality to your WordPress website?
Installing a plugin is relatively fast and straightforward. You can simply activate it and run it in a second or minute.
WordPress has its own plugin directory which contains thousands of free and paid plugins.
Today, in this article we describe three simple ways to install and activate plugins for your website.
Before beginning, consider that you can only install plugins if you are using WordPress.org because WordPress.com has more limitations as they are hosted platforms.
Now, Let’s discuss the three methods for installing WordPress plugins.
Install the plugin from the WordPress admin Dashboard:
It is one of the simplest and fastest methods of installing plugins for beginners.
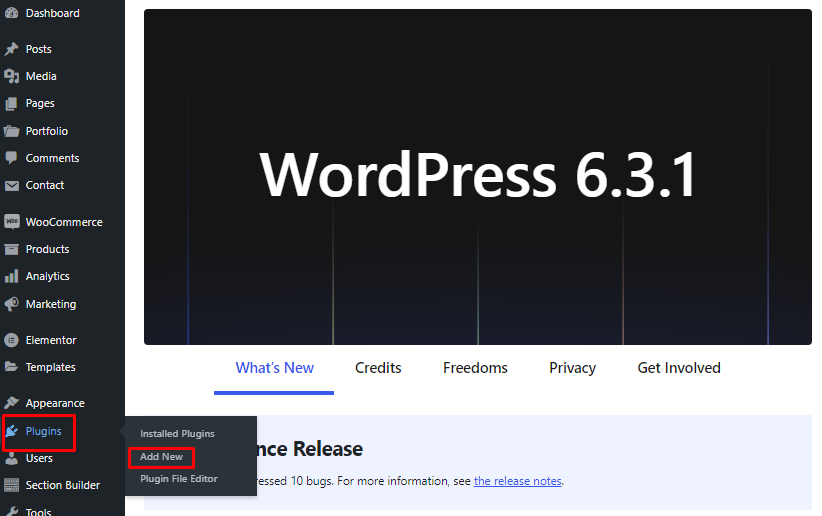
1: Open your WordPress dashboard, click Plugin > Add new.
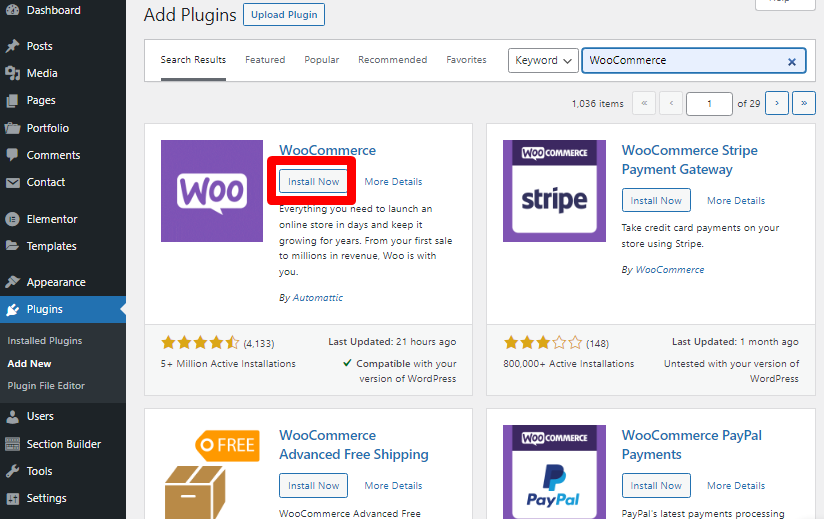
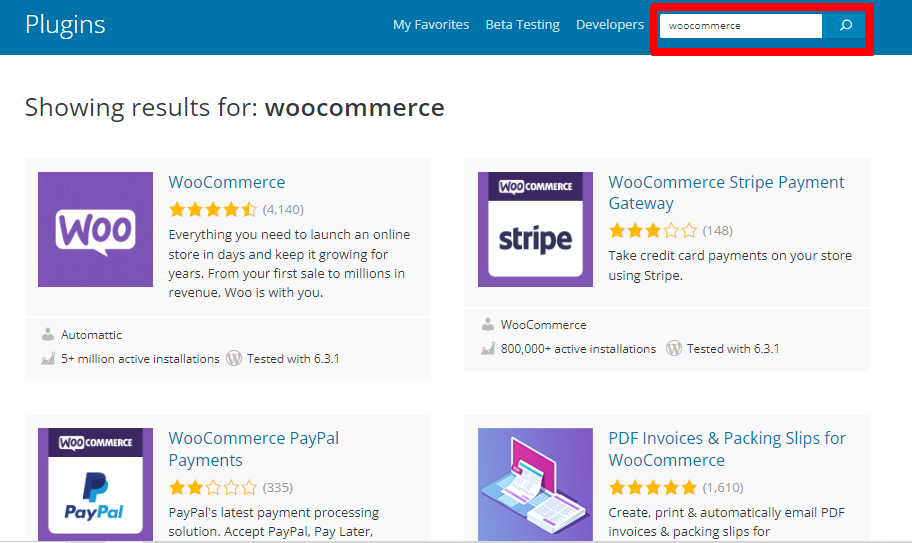
2: Go to the Keyword Search and search plugin that you require. There you will see a bunch of plugins you are looking for.
For instance, in an e-commerce store, we install the “WooCommerce” plugin. This plugin enhances the store by providing features such as checkout, payment, and the option to add items to the cart.

3: After you have found the plugin you want, just click on “Install Now”.Alternatively, you can choose to click on “More Details” to access additional information about the plugin.
4: When the installation is complete, you must activate the plugin to make use of its features. Simply click on the “Activate” button that has just appeared.
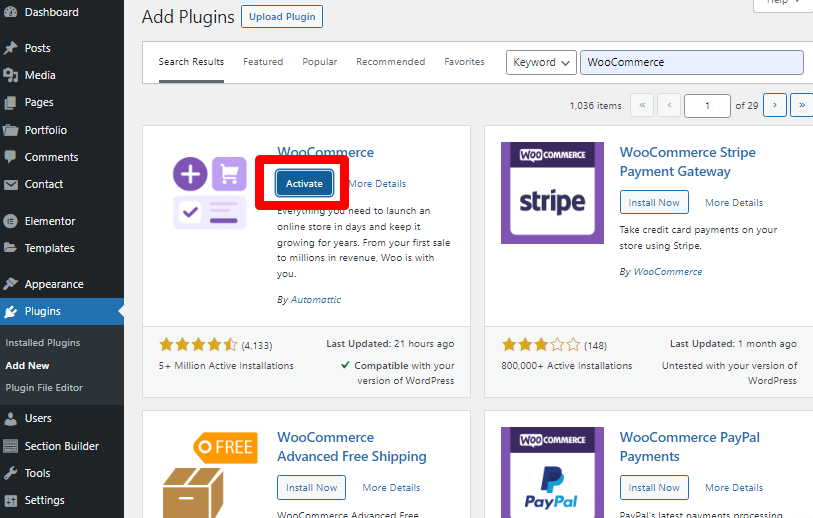
5: Now you have successfully activated the plugin on your website.
Install plugin from WordPress Plugin Upload:
This method differs significantly from the first one. To begin, you need to purchase and download the plugin file either from the WordPress plugin directory or from a third party, which will be in a .zip format.
1: Go to the WordPress admin dashboard, click plugin>add new>upload plugin.

2: Click on “Choose file” and select the zip file you have already downloaded.
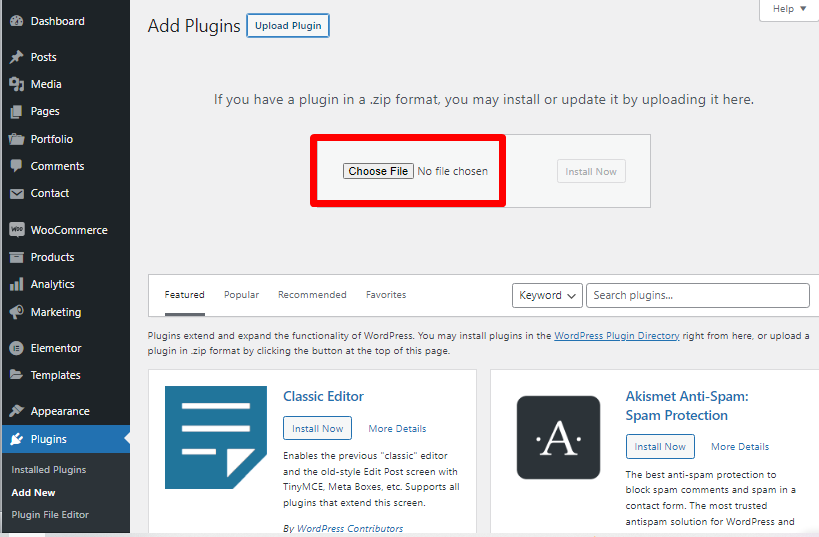
3: After selecting the file, click on Install Now.

4: Once the installation is complete, click on the “Activate” plugin option.
5: Now you have successfully activated the plugin.
Install Plugin via File Transfer Protocol (FTP):
Sometimes, it may not be possible to install a plugin from the admin dashboard. In such cases, you can install it using FTP. FTP, which stands for file transfer protocol, is a method of transferring files between systems over the Internet. However, this installation method can be less beginner-friendly.
1: First, you can visit the plugin directory here (https://wordpress.org/plugins/) and choose the required plugin.
2: Download the plugin and extract the .zip file on your computer. Note that, extracting the zip file will create a folder with the same name.

3: Next one is, to connect to your WordPress website’s server with FTP, you can use an FTP client to transfer files.
4: After opening the FTP client, use the login credentials provided by your web host to connect to your website.
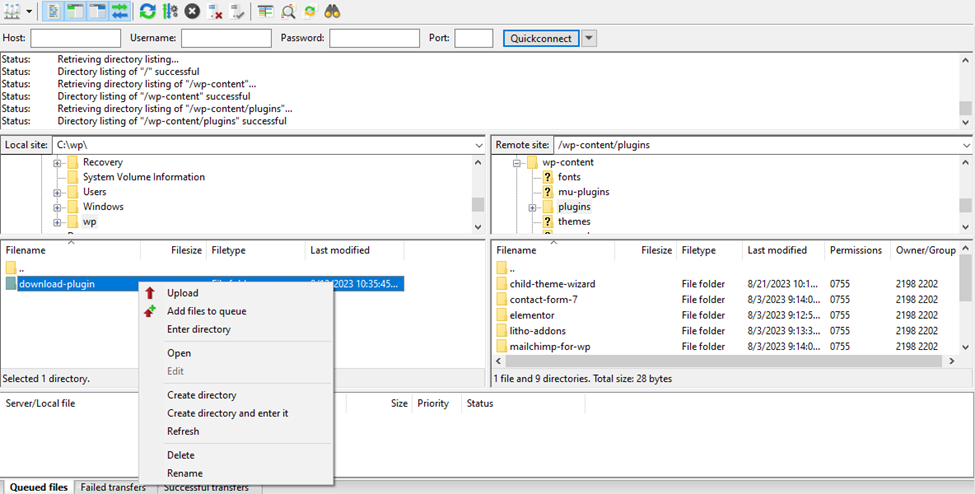
5: Next, navigate to the /wp-content/plugins/ directory in your WordPress file system.
6: Upload the extracted folder to the /wp-content/plugins/ directory on your web server.
7: Once you have uploaded the folder, go to the plugin section in your WordPress admin dashboard. Here, you will find a list of all the plugins you have installed. Find a new plugin that you have installed and Activate it.
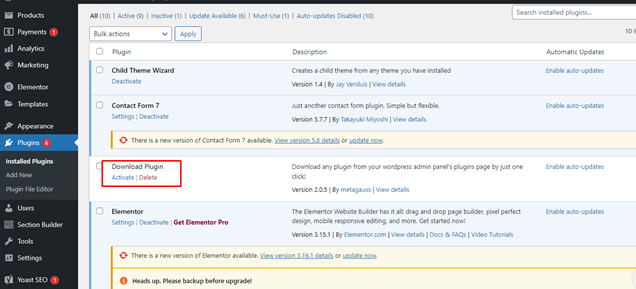
Step 8: Now you have successfully activated your plugin. Enjoy using the new features and functionality on your website.
Wrapping Up:
That’s all about how to install plugins in your WordPress website. Hope you understand. If you have any questions related to installing plugins, feel free to submit them in the comment box.
Leave a Reply